StdMultiEditor/”Standard Display” 101
This notebook is the hello world for the StdMultiEditor specific rendering API. You will learn how to:
Get a handle to the workbench editor “Standard Display” (axial / sagittal / coronal / 3D)
Read each window’s slice bounds, selected slice, and camera state
Drive the slice navigator and the camera programmatically
Capture per-window screenshots and render them inline
Prerequisites: A running MITK Workbench instance with the REST API enabled at http://localhost:8080.
1. Connect
mw.connect() is lazy – the first network call is wb.ping() below. If the Workbench is not reachable we exit early so the rest of the notebook does not produce confusing failures.
[1]:
import mitk_workbench_remote as mw

wb = mw.connect("http://localhost:8080")
if not wb.ping():
    raise SystemExit("Workbench unreachable at http://localhost:8080. Start it and re-run.")
print(f"Connected to {wb.info.name} (MITK {wb.info.mitk_version}, API {wb.info.api_version}).")
Connected to MITK Workbench REST API (MITK 2025.12.99-51d3c136, API v1).
2. Load a phantom
The mitk_workbench_remote.examples.phantoms module ships small synthetic volumes for the example notebooks. We use a CT-like body-and-tumor phantom so the editor has something concrete to display.
[2]:
from mitk_workbench_remote.examples import phantoms

ct = phantoms.make_body_with_tumor("ct")
node = wb.show(ct, name="CT phantom")
print(f"Loaded {node}")
print(f"  shape   = {ct.shape}")
print(f"  spacing = {ct.spacing}")
Loaded <DataNode 'CT phantom' (Image) @ /CT phantom uid=node_5>
  shape   = (32, 96, 96)
  spacing = (1.0, 1.0, 2.5)
3. The StdMultiEditor handle
wb.std_multi returns a stateless wrapper around the StdMultiWidget editor. Every state read goes to the network – the wrapper holds only the transport.
get_info() gives you the editor’s plugin id and current window list.
[3]:
editor = wb.std_multi
info = editor.get_info()
print(f"alias    = {info.alias}")
print(f"plugin   = {info.plugin_id}")
print(f"active   = {info.active}")
print(f"windows  = {info.windows}")
alias    = stdmulti
plugin   = org.mitk.editors.stdmultiwidget
active   = True
windows  = ('stdmulti.widget1', 'stdmulti.widget0', 'stdmulti.widget3', 'stdmulti.widget2')
4. The four named windows
The StdMultiWidget always exposes the same four slots: axial, sagittal, coronal, and a 3D window. The editor exposes them as named properties for convenience. Each one is a RenderWindow you can drive independently.
Note: three_d is the spelled-out alias of the window whose id is "3d" – "3d" is not a valid Python identifier so the property cannot be called that.
[4]:
named = {
    "axial":    editor.axial,
    "sagittal": editor.sagittal,
    "coronal":  editor.coronal,
    "3d":       editor.three_d,
}
for label, win in named.items():
    print(f"{label:9s} id={win.id!r:12s} kind={win.kind}")
axial     id='axial'      kind=2d
sagittal  id='sagittal'   kind=2d
coronal   id='coronal'    kind=2d
3d        id='3d'         kind=3d
6. Camera
get_camera() returns the current camera state. For 2D windows the relevant zoom field is parallel_scale (smaller = more zoomed in). For the 3D window the relevant field is perspective_angle.
You can either build a Camera value and pass it to set_camera, or pass keyword fields directly. Both are equivalent.
[8]:
cam = ax.get_camera()
print(f"position       = {cam.position}")
print(f"focal_point    = {cam.focal_point}")
print(f"parallel_scale = {cam.parallel_scale}")

# Zoom in by halving parallel_scale.
ax.set_camera(parallel_scale=cam.parallel_scale * 0.5)
print(f"-> zoomed axial to parallel_scale = {ax.get_camera().parallel_scale}")
position       = (47.5, 47.5, -899962.5)
focal_point    = (47.5, 47.5, 37.5)
parallel_scale = 35.705400981996725
-> zoomed axial to parallel_scale = 17.852700490998362
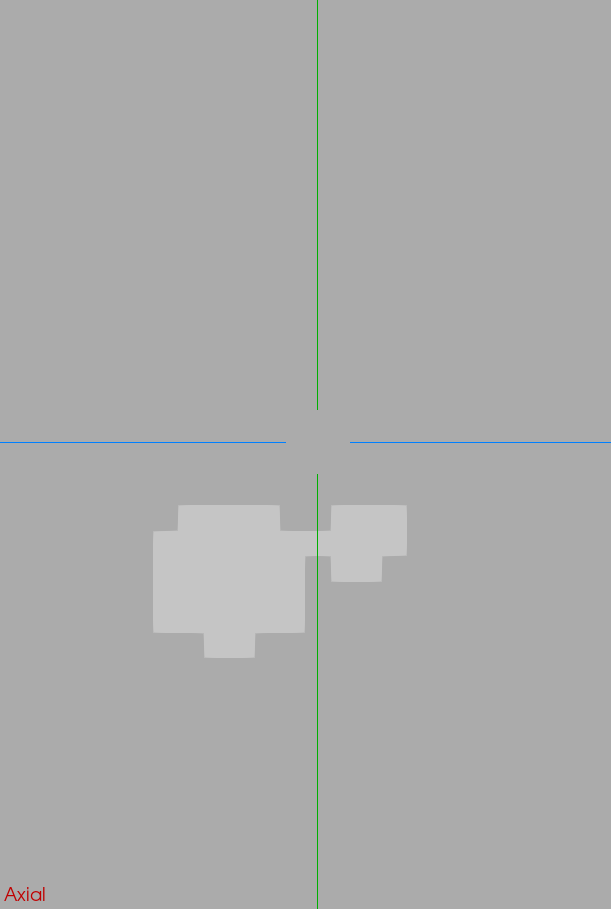
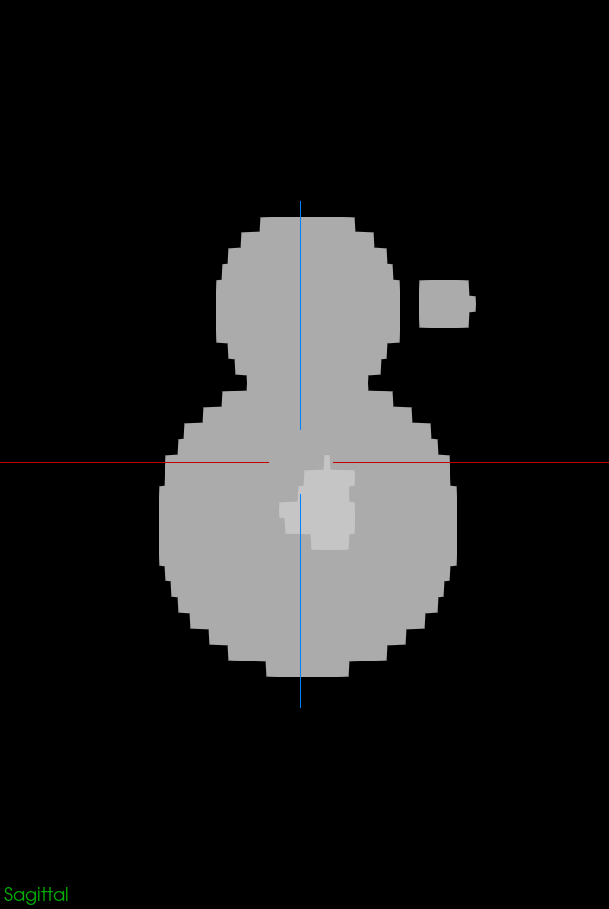
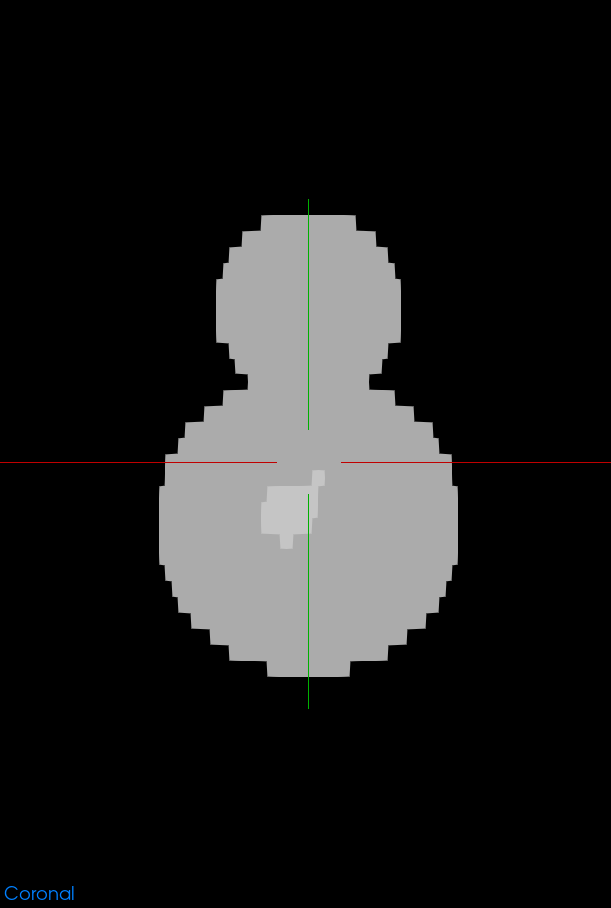
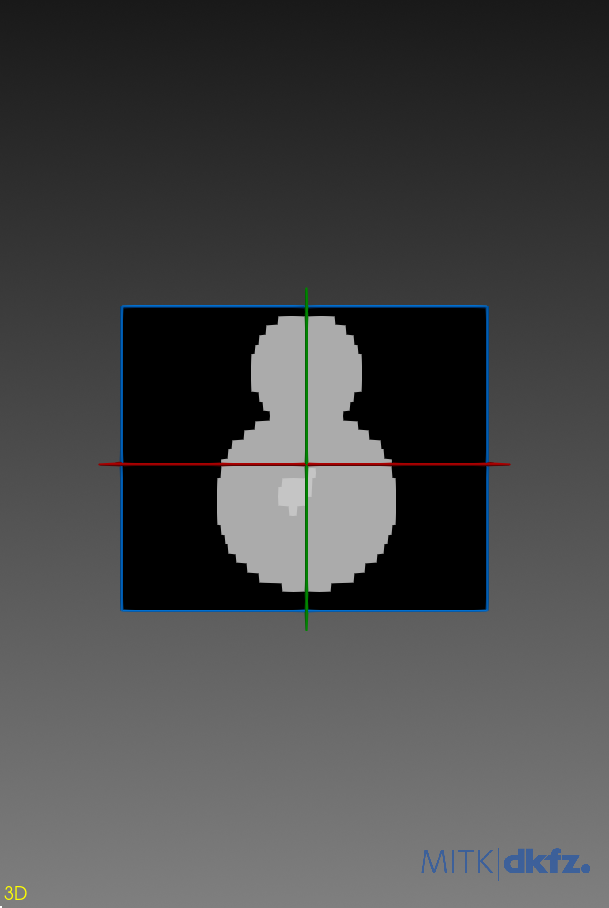
7. Per-window screenshots
RenderWindow.screenshot() returns raw PNG bytes from the live render surface. We display all four windows as a single matplotlib figure – handy for previewing in the notebook without opening the workbench window.
[9]:
from IPython.display import Image as IPyImage, display

for label, win in named.items():
    print(f"-- {label} --")
    display(IPyImage(data=win.screenshot(), format="png"))
-- axial --
-- sagittal --
-- coronal --
-- 3d --
8. Recap and clean up
Endpoints exercised in this notebook:
GET /rendering/editors/stdmulti– editor infoGET /rendering/editors/stdmulti/windows/{id}– per-window summary (viakind)GET/PUT /rendering/editors/stdmulti/windows/{id}/selected-sliceGET/PUT /rendering/editors/stdmulti/windows/{id}/cameraGET /rendering/editors/stdmulti/windows/{id}/screenshot
Next stop: notebook 07 introduces the MxN multi-widget editor, which lets you build arbitrary grids of synchronised render windows from Python.
[20]:
node.remove()
print("Removed", node.uid)
Removed node_1